 Ora Thirty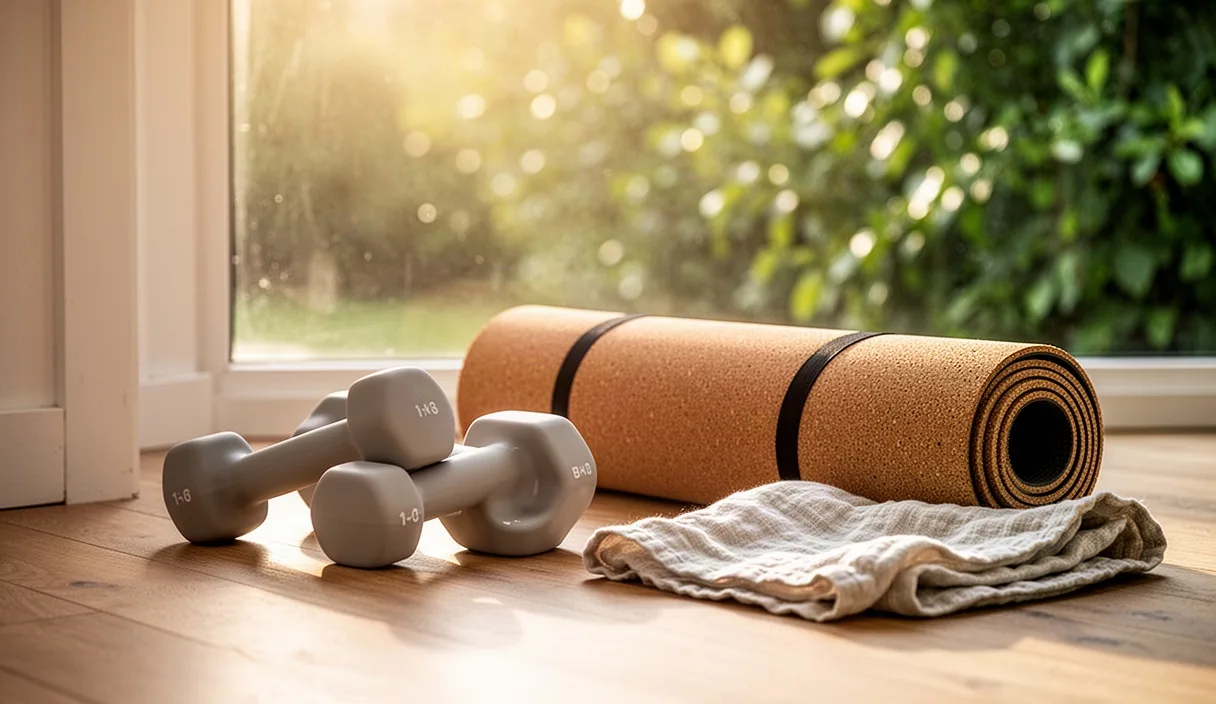
When you cross thirty, your body begins to quietly change the way it handles daily life. Bags of groceries feel slightly heavier on the second flight of stairs, sitting at a desk leaves a dull ache in your lower back, and getting up from the carpet requires a small grunt of effort. We often dismiss these shifts as an inevitable part of getting older, but in truth, they are mostly just signals that our muscles want a little more attention than they used to need in our twenties.
You do not need an intimidating gym membership, an array of expensive machines, or hours of free time to turn this around. In our family shop, we believe the best habits are the ones you can fit quietly between your workday and dinner. Over the next four weeks, you can build a reliable foundation of strength right on your living room rug, using simple movements and practical guidelines designed to keep your body resilient for decades to come.
Why muscle preservation matters after thirty
Starting around your thirtieth birthday, the body naturally begins to shed lean muscle tissue through a normal process called sarcopenia. Research suggests that inactive adults can lose between 3 percent and 8 percent of their muscle mass every decade after thirty. This decline is gradual at first, but it slowly alters how your joints bear weight, how steady you feel on uneven ground, and how your body processes dietary energy throughout the day.
Muscle is active, demanding tissue. When you keep it strong, it acts as a protective shield for your knees, hips, and lower back. Every step you take transfers impact through your feet and legs; healthy muscle absorbs that force before it grinds down cartilage or tugs painfully on tendons. Strong muscles also help manage blood sugar, support bone mineral density, and make everyday chores like lifting children or carrying soil bags feel light and effortless.
Preserving your strength does not require lifting massive iron bars or training until you collapse. The goal here is simple maintenance and steady adaptation. Before you start any new physical routine, especially if you have had past injuries, cardiovascular wellness, or a long stretch of sitting without exercise, it is always wise to consult your family physician or a licensed physical therapist. They can help you identify any specific joint restrictions before you add load.
Setting up a safe space and simple equipment
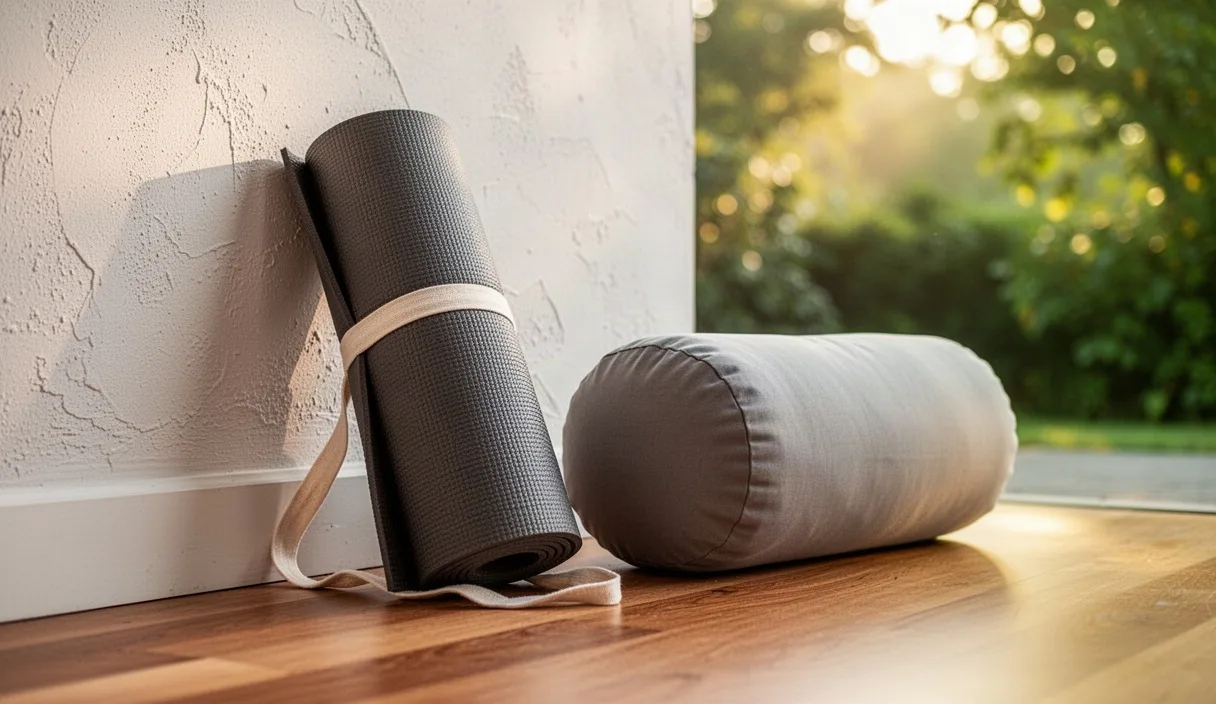
You only need an area about six feet wide and six feet long to complete this entire program. Clear away coffee tables, stray shoes, and throw rugs that might slip beneath your socks. If you have hardwood or tile floors, place down an inexpensive rubber yoga mat or exercise mat to protect your knees and wrists from hard impact. Make sure you have enough overhead clearance to stand tall with your arms straight up without hitting a light fixture.
You do not need to buy a rack full of weights to see real progress during your first month. In fact, starting too heavy is the quickest path to sore elbows and stiff necks. A modest investment in a few household items or basic tools is more than enough for your initial four weeks:
- A sturdy kitchen chair: Choose one with four solid legs and a flat wooden seat, without wheels or loose armrests. You will use this for assisted squats and incline pushing.
- A pair of moderate dumbbells: For most beginners, a pair weighing between 8 and 15 pounds works best. If you prefer, two matching one-gallon water jugs with handles weigh roughly 8 pounds each when filled.
- A light-to-medium loop resistance band: A flat elastic band or a 40-inch continuous loop band provides smooth tension without stressing your wrists.
- A comfortable pair of flat-soled shoes or bare feet: Training barefoot on a firm mat helps build balance and strengthens the small stabilizing muscles in your arches and ankles.
Keep your gear stored in a dedicated corner or an open basket where you can see it. When your tools are visible and easy to reach, the mental hurdle of starting your twenty-minute session drops dramatically.
Mastering the basic hinge, squat, and push patterns
Almost all human strength comes from a few primal movement patterns. Rather than memorizing dozens of complex exercises, you will focus on three core actions: the hinge, the squat, and the push. Learning the mechanics of these three shapes will teach your body how to lift, sit, and press safely in daily life.
The Hip Hinge
The hinge is the foundation of picking heavy objects off the floor without straining your lower back. Stand tall with your feet shoulder-width apart, toes pointing forward. Place the edges of your hands directly into the creases of your hips. Unlock your knees slightly, but do not bend them into a squat. Push your hips straight back toward the wall behind you, as if you were closing a car door with your rear end. Keep your chest flat and your gaze looking roughly four feet in front of you on the floor. Once your torso tilts forward to about a 45-degree angle, squeeze your glutes and push your hips forward to return to standing.
The Box Squat
The squat builds leg strength and knee stability. Place your sturdy chair behind you. Stand about four inches in front of the seat, with your feet slightly wider than your shoulders and toes turned out just a fraction. Bring your hands together at your chest for balance. Push your knees outward in line with your middle toes, sit your hips down and back, and lower yourself in a controlled descent until your buttocks lightly tap the chair. Do not collapse your weight into the chair; simply touch the wood, pause for one second, and drive through your heels to stand tall.
The Incline Push
Pushing develops strength through your chest, shoulders, and triceps while training your abdomen to hold steady. Traditional floor push-ups are often too demanding on wrists and shoulders for beginners. Instead, place your hands slightly wider than shoulder-width apart on the edge of a kitchen counter or the sturdy back of your heavy sofa. Step your feet back until your body forms a straight line from your ears to your heels. Lower your chest toward the surface over two slow seconds, keeping your elbows tucked at roughly a 45-degree angle to your ribs. Push the surface away firmly to return to the starting position without letting your hips sag.
Structuring two manageable weekly sessions
Consistency beats intensity every single time. Training two days per week gives your muscles enough stimulus to adapt while offering five days of recovery, which is critical after thirty when collagen turnover and muscle repair take a little longer. We recommend spacing your workouts with at least two full rest days between them, such as a Tuesday and Friday schedule or a Wednesday and Saturday schedule.
Each session should take roughly twenty to thirty minutes, including a brief three-minute warm-up consisting of arm circles, torso twists, and slow knee raises. Keep your rest periods between sets around 60 to 90 seconds. This allows your breathing to settle and gives your nervous system time to recharge for the next effort.
| Session Day | Primary Movement | Reps and Sets | Focus Point |
|---|---|---|---|
| Session A (e.g., Tuesday) | Chair Box Squat | 3 sets of 8 to 10 reps | Control the downward path; keep heels flat. |
| Session A (e.g., Tuesday) | Incline Surface Push | 3 sets of 6 to 8 reps | Keep your midsection stiff like a wooden plank. |
| Session A (e.g., Tuesday) | Band Row or Towel Pull | 3 sets of 10 to 12 reps | Pull your shoulder blades together at the top. |
| Session B (e.g., Friday) | Bodyweight Hip Hinge | 3 sets of 10 to 12 reps | Reach hips back; feel hamstrings stretch. |
| Session B (e.g., Friday) | Dumbbell Floor Press | 3 sets of 8 to 10 reps | Lie on your back, press weights above chest. |
| Session B (e.g., Friday) | Standing Farmer Carry | 3 carries of 30 seconds | Walk with one dumbbell in hand, spine upright. |
For the Farmer Carry in Session B, pick up a single dumbbell or water jug in your right hand. Walk back and forth across your room with small, deliberate steps for 30 seconds. Your torso will want to lean sideways toward the weight; resist that pull and stand completely vertical. Switch hands and repeat on the left side. This simple drill builds practical grip strength and trains the deep core muscles that protect your spine during garden work or carrying luggage.
Spotting the difference between good fatigue and bad joint pain
When you start challenging your muscles, your nervous system will register unfamiliar sensations. Learning to interpret what your body is reporting is an essential skill. You want your muscles to feel warm, tired, and slightly shaky toward the end of a set, but your joints should remain quiet and calm.
Delayed onset muscle soreness, often called DOMS, is normal. It usually appears 24 to 48 hours after your session. It feels like a dull, widespread stiffness across the belly of the muscle, such as the front of your thighs or your upper back. This stiffness typically eases up once you take a brisk ten-minute walk or take a warm shower. Joint irritation, by contrast, feels sharp, localized, or pin-pointed right on the knee cap, deep inside the shoulder socket, or directly on the lumbar spine.
| Sensation | Good Muscle Fatigue | Warning Joint Pain |
|---|---|---|
| Location | Broad, across thick muscle tissue | Pin-pointed, directly in or around a joint |
| Timing | Peak soreness 1 to 2 days after training | Immediate or sharp jab during the movement |
| Response to Warmth | Improves with gentle walking and movement | Aches more with movement or load bearing |
| Quality | Deep, heavy, dull muscular burn | Sharp, catching, shooting, or burning ping |
If you feel a sharp pinch during any exercise, stop that set immediately. Check your stance, adjust your range of motion to be smaller, or elevate your hands higher during pushes. If a joint continues to ache through the next morning or swells, rest the area completely and let a physical therapist or medical professional evaluate your alignment before continuing.
Progressing slowly without burning out
The human body adapts to gentle, steady pressure, not sudden shock. Many people start with great enthusiasm, do three times more than their body is ready for, end up miserable with sore tendons, and quit before the month is out. We want you to finish your fourth week feeling capable, refreshed, and eager for the next month.
To progress safely, use the rule of small increments. Do not try to lift heavier dumbbells every week. Instead, work through these three simple methods of progression over your four weeks:
- Week One: Learn the shapes. Use body weight for squats and hinges, and a high counter for push-ups. Do two sets of each movement, stopping each set while you still feel you could have done three more good repetitions.
- Week Two: Add volume. Increase from two sets to three sets for each exercise. Keep the resistance exactly the same as week one, focusing on steady balance and steady breathing.
- Week Three: Slow down the tempo. Keep the same weights and repetitions, but take three full seconds to lower yourself into the squat or hinge, and one second to stand up. Increasing the time under tension challenges your muscle fibers without placing more weight on your joints.
- Week Four: Add gentle resistance. If you have been doing bodyweight squats, hold a single light dumbbell or water jug against your chest. If you used a kitchen counter for push-ups, move your hands down to a lower, sturdy coffee table or the third step of a staircase.
Keep a small notebook near your workout mat. Jot down the date, the movements you did, and how your joints felt the following morning. Writing down your work takes less than thirty seconds, but it provides a tangible record of your progress when you look back at where you stood four weeks ago.
Common mistakes to avoid
When you exercise at home without an instructor watching, it is easy to slip into small habits that rob the movements of their value or strain your posture. Here are a few frequent pitfalls we see beginners run into:
- Holding your breath: When an exercise feels hard, our instinct is to lock our jaws and hold our air inside. This spikes your blood pressure and creates unnecessary tension in your neck. Inhale slowly through your nose as you lower into a movement; exhale gently through your mouth as you push or stand back up.
- Rushing through the reps: Bouncing out of the bottom of a squat or dropping quickly during a hinge relies on joint momentum rather than muscular control. Move like you are underwater: smooth, deliberate, and quiet.
- Ignoring non-training recovery: Strength is not built during your workout; it is built while you sleep and rest between sessions. Aim for at least seven hours of restful sleep, drink plenty of water, and eat a source of protein like eggs, beans, fish, or poultry after your training days to help your muscles rebuild.
- Looking directly up at the ceiling: During hinges and push-ups, people often crane their necks backward to look forward. This compresses the cervical spine. Keep your neck packed and in line with your spine, with your chin slightly tucked as if holding a soft tennis ball beneath it.
Your practical next steps
Starting a routine does not require waiting for a new month or a clean Monday. You can begin right now with two small, practical choices that take less than five minutes of your day.
First, open your calendar and pick your two training days for this coming week. Block out thirty quiet minutes on each of those days, treating them with the same respect you would give an appointment with your dentist or an important client. Second, test your chair. Walk over to your kitchen, stand in front of your chosen chair, and perform three slow, deliberate box squats with your hands clasped at your chest.
Notice how your legs feel, how your feet grip the floor, and how your breath responds. That small test is the beginning of the entire process. Take it one session at a time, celebrate the small gains in how your lower back feels when you bend down to tie your shoes, and enjoy the quiet confidence that comes with building a stronger, more capable home for yourself.